DHT11 Temperature and Humiditywritten by: Michael Paul MacKillip |
Reader Mode |
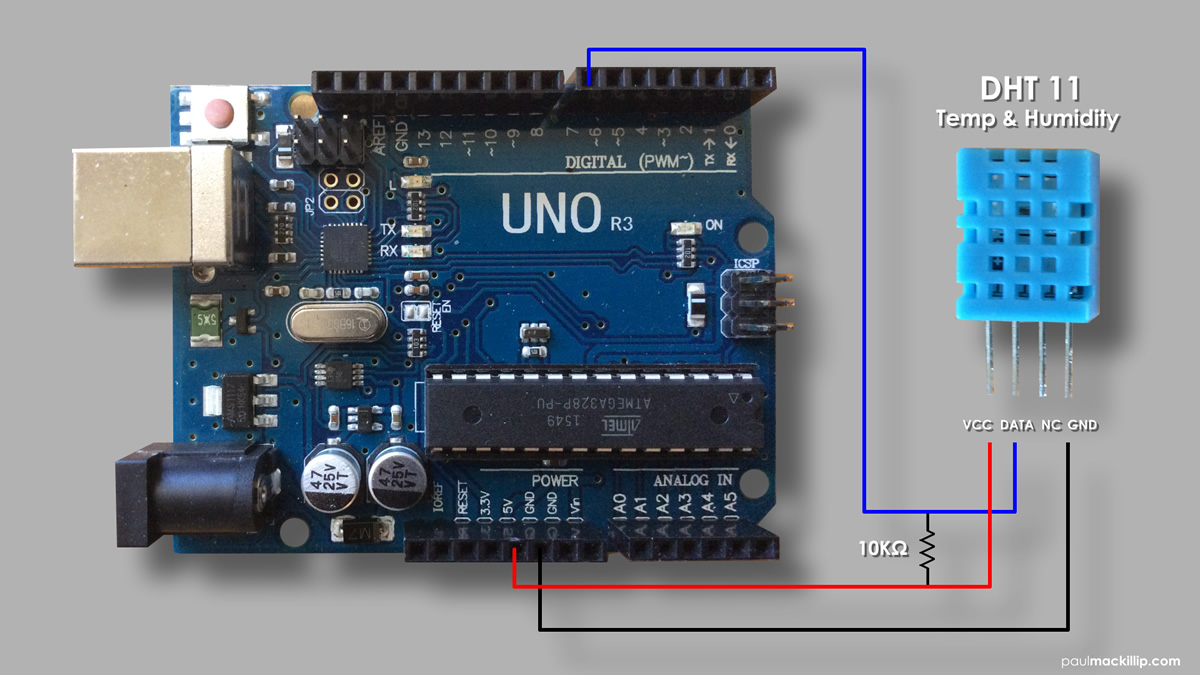
posted on: Jan 12, 2017 Today, I am going to be going over the DHT11 Temperature and Humidity sensor
and setting that up with the Arduino Uno. The DHT11 is a relatively inexpensive
sensor capable of functioning well in moderate conditions. I use this sensor for
indoor monitoring. For applications running in outdoor conditions I would
recommend using the DHT22. For it has a wider temperature operating range and is
more suited for extreme conditions. 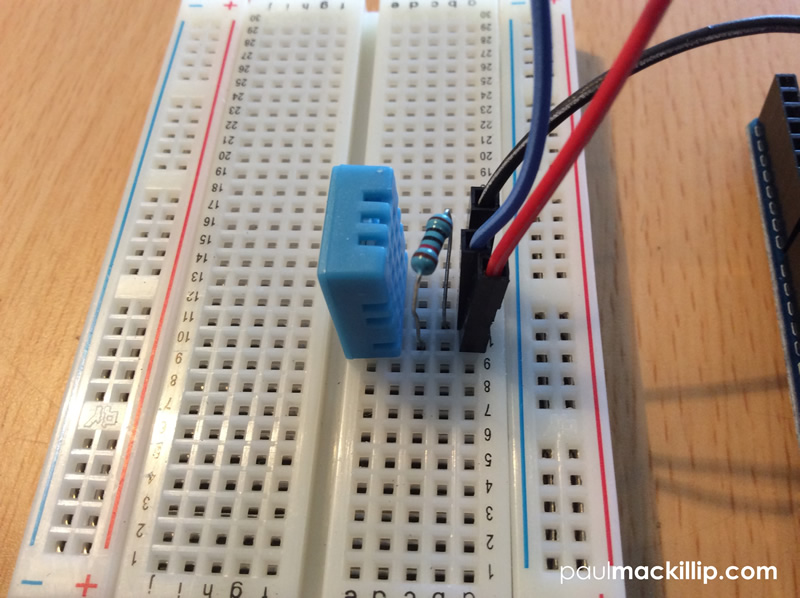
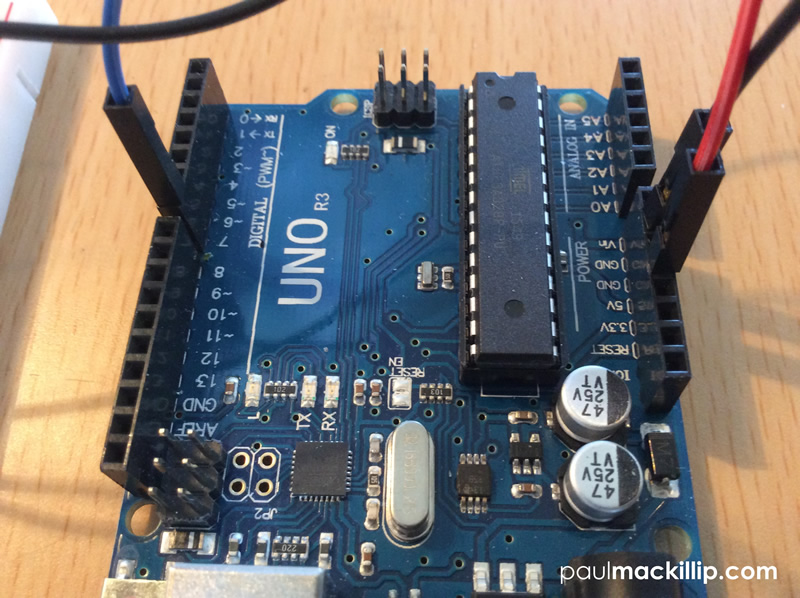 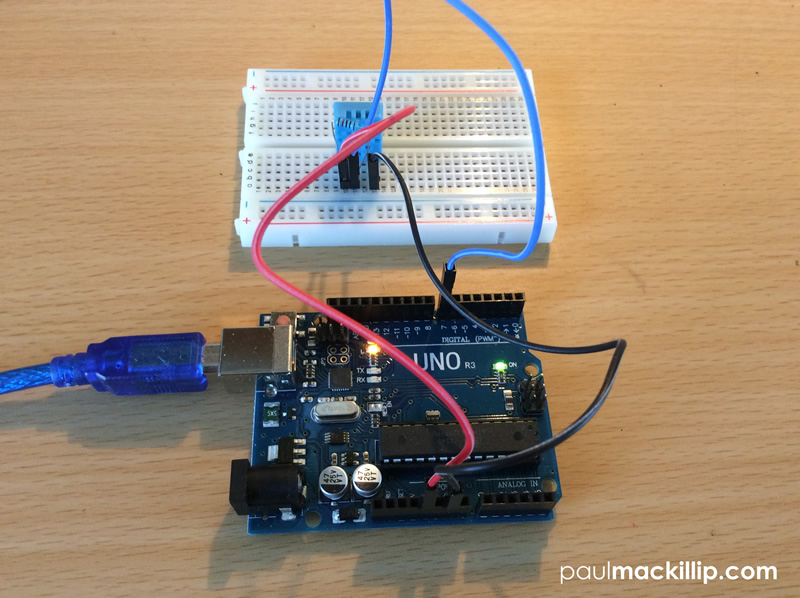 
Steps1Using your breadboard, insert the DHT11 sensor facing you into the back slot (e). Place lead line in slot (a) of the breadboard, align with the VCC pin on the DHT11 and insert the other end into 5V pin slot on the Arduino. 2Place lead line in slot(a) of the breadboard, align with the GND pin on the DHT11 and insert the other end into GND pin slot on the Arduino. 3You will need a 10K ohm resistor to scale down the current between the power and data pin. Place your resistor in the pin slots (b) and (c) of the breadboard, between the VCC and Data pins of the DHT11. (If you need help identifying your resistors resistance levels please refer to my "Using Your Digital Multimeter" article.) 4 Connect USB cord to Ardunio and computer. Launch
Ardunio Software. Copy and paste the code below to a New Arduino project file.
Save and Run. Temp_Humidity.ino
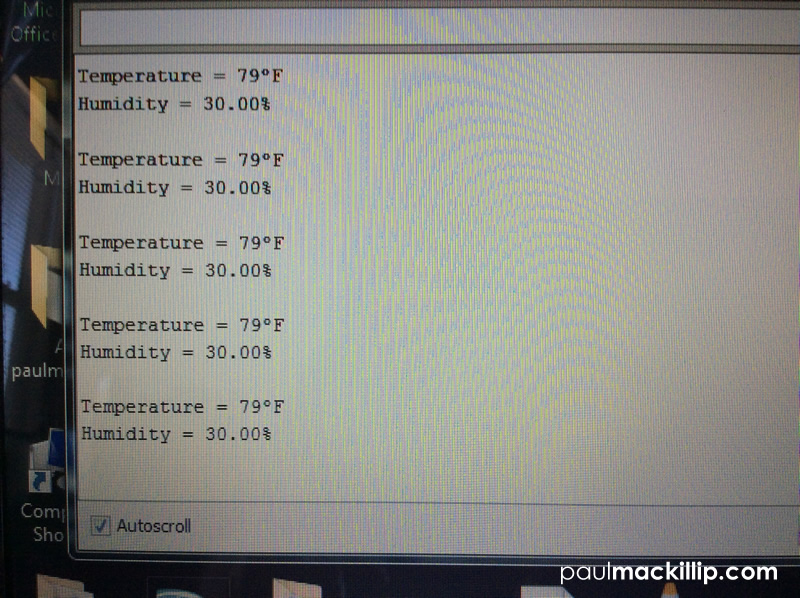
#include <dht.h> dht DHT; #define DHT11_PIN 7 void setup(){ Serial.begin(9600); } void loop() { int chk = DHT.read11(DHT11_PIN); Serial.print("Temperature = "); Serial.print((int)round(1.8*DHT.temperature+32)); Serial.print((char)186); Serial.println("F"); Serial.print("Humidity = "); Serial.print(DHT.humidity); Serial.println("%"); Serial.println(); delay(1000); } In lines 15 and 17, I customized the original Ardunio base code using a simple metric conversion to change the Celsius output reading to a Fahrenheit reading as I live in the US. Comments: (2)
|
|
 Â Â Â mmack001
   mmack001    mmack001